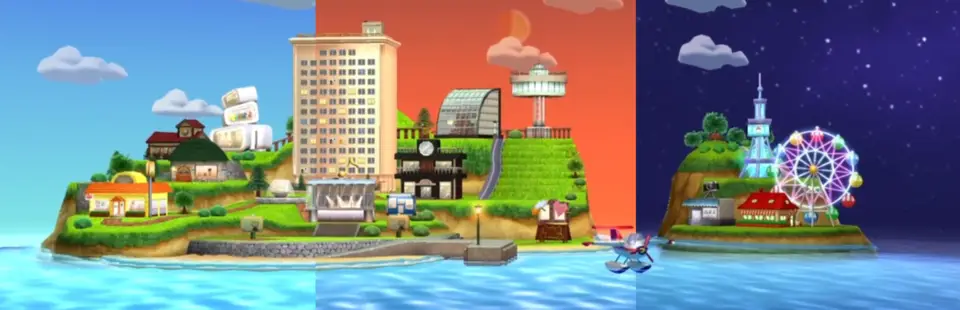
Tomodachi Life PC
Port nativo de Tomodachi Life PC para PC.
Tomodachi Life PC
Port nativo basado en josiahg2502-glitch/tomodachilife-recomp.
README del repositorio
Tomodachi Life: Living the Dream, native PC port
A static recompilation of Tomodachi Life: Living the Dream (Nintendo Switch) into a native Windows program. The game's own code is translated to C and compiled for your PC: no emulator runs underneath.
Also for Linux and Steam Deck (docs/LINUX.md) and Android handhelds (docs/ANDROID.md).
Version 1.0.3. You can play it from start to finish as far as we know; see Known issues for what is still open.
Nothing of the game is in this repository or in the release downloads. You build it on your own PC from your own copy of the game, dumped from your own Switch, with your own console keys. Not affiliated with or endorsed by Nintendo.
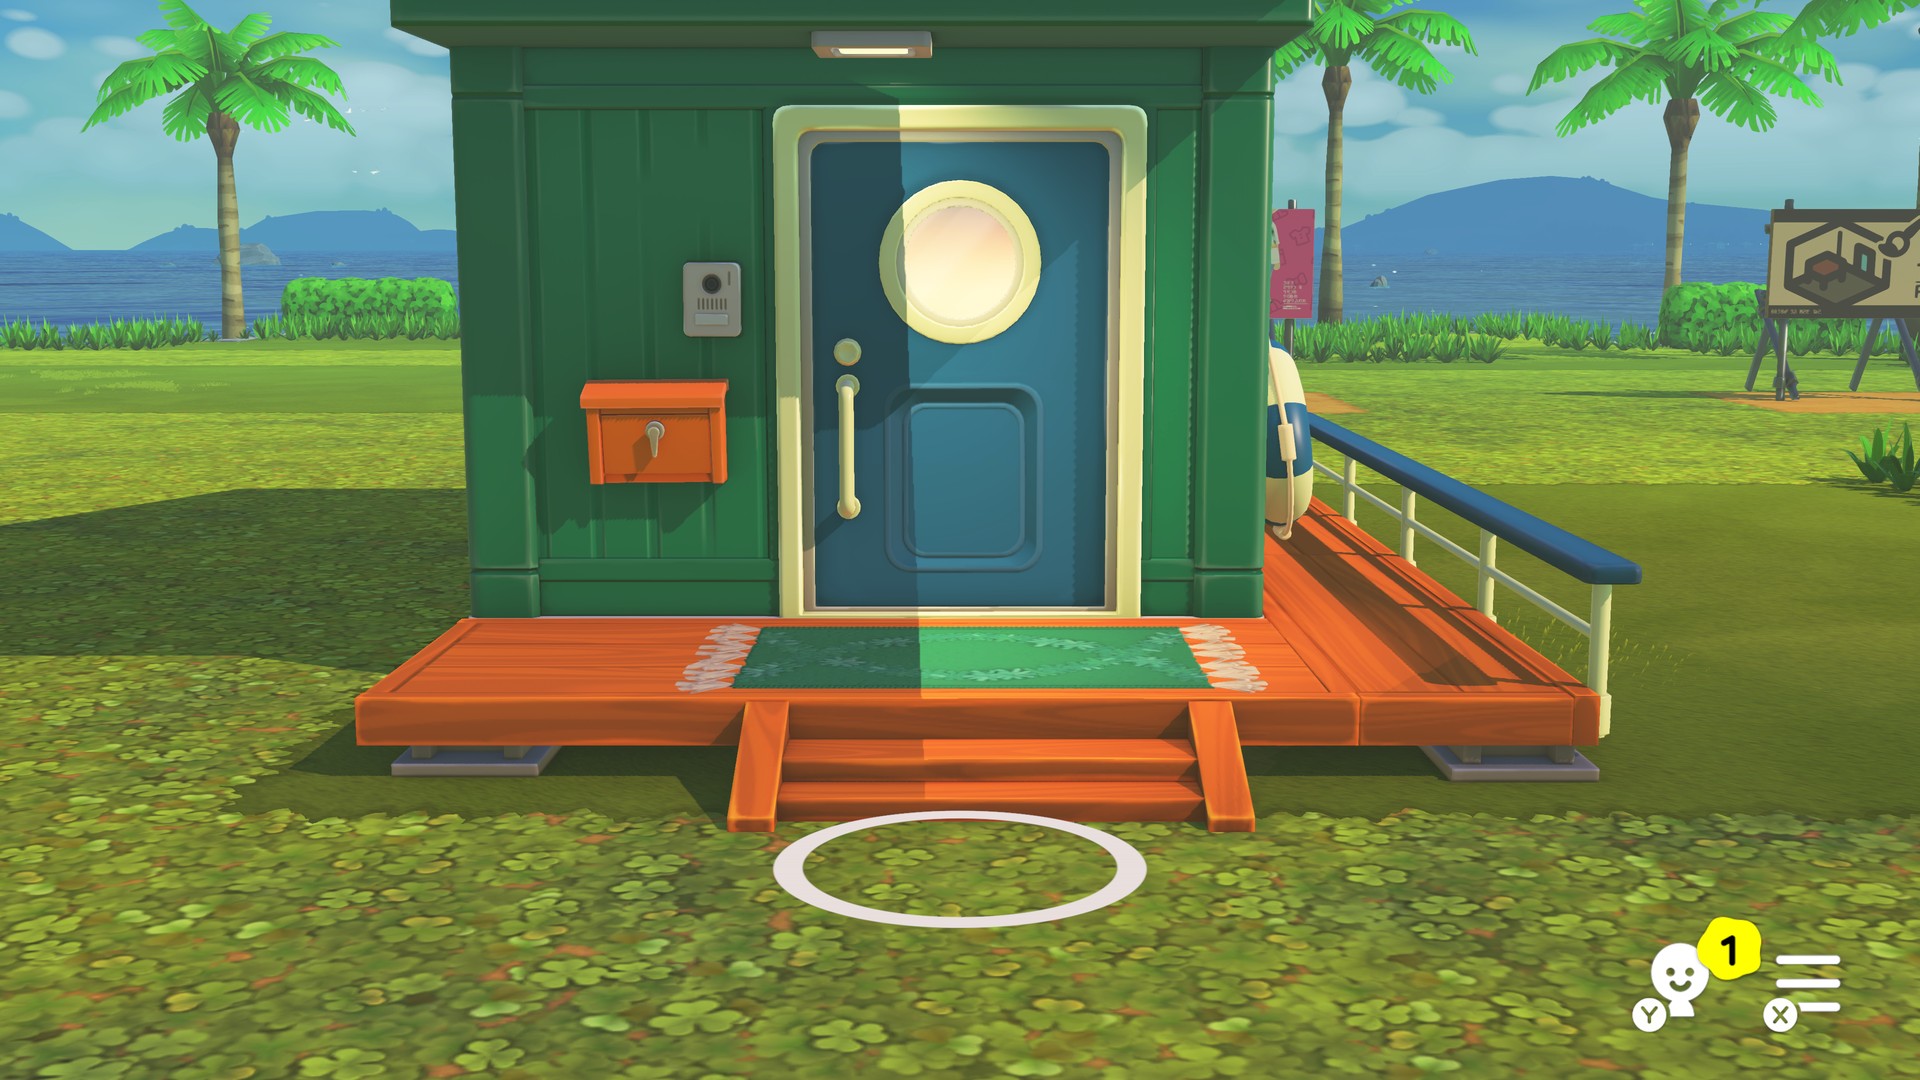 | 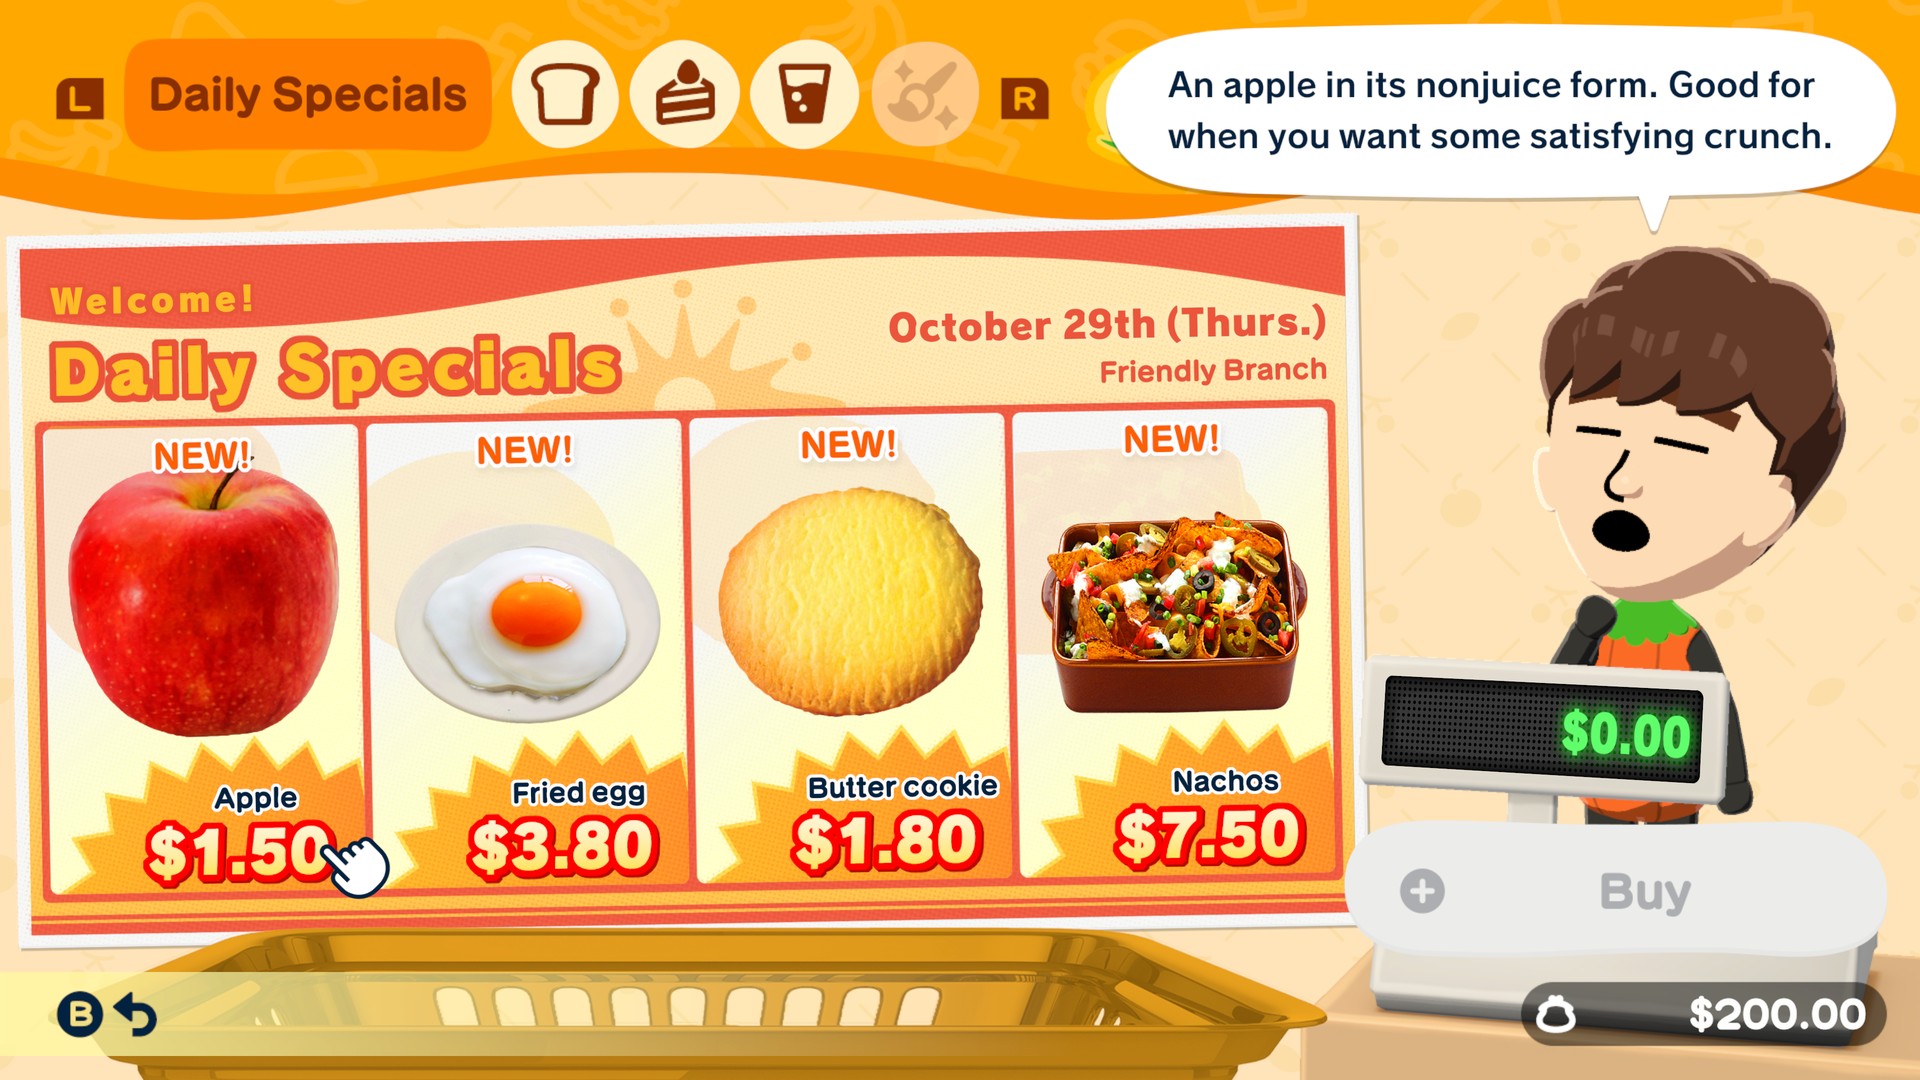 |
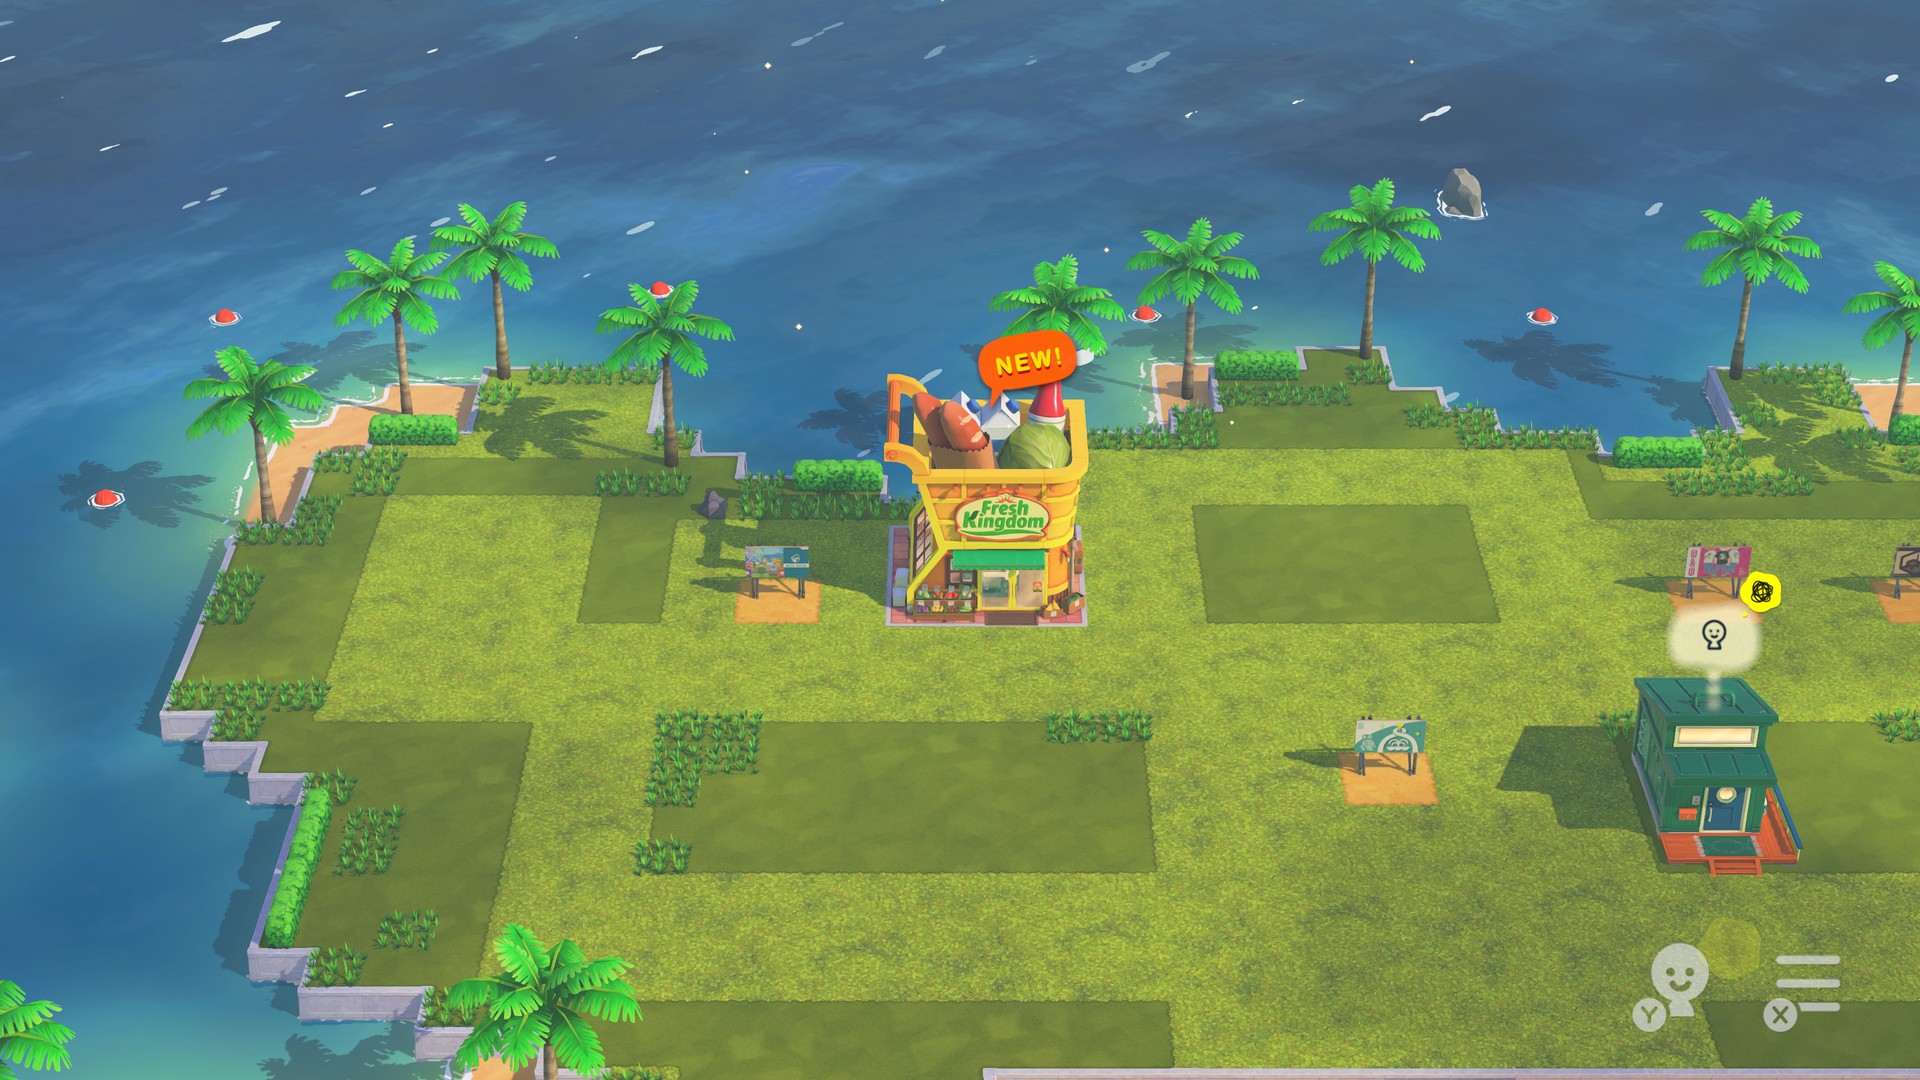
Game 1.0.4, rendered at 4K in widescreen, shown at 1080p.
What you need
- Windows 10 or 11, 64-bit; about 15 GB free on the drive you install to; 8 GB of RAM or more (16 GB recommended).
- Windows' page file left on (automatic is best), with room to grow on its drive: the game asks Windows for about 13 GB, though it uses
far less of it. Without that room it can crash with error
0x00000004. - A GPU with Vulkan 1.3 or OpenGL 4.5. The game picks by itself: OpenGL on NVIDIA cards, Vulkan on AMD and Intel (PC Settings, Renderer, changes it). Developed and tested on NVIDIA (RTX 3060, both renderers); AMD and Intel are less tested.
- Your game files, dumped from your Switch:
- the base game (
.nsp,.nszor.xci; title id010051F0207B2000), and optionally - the update 1.0.4 (
.nspor.nsz;010051F0207B2800, versionv262144). Without it you get version 1.0.0.
- the base game (
- Your console's
prod.keys(dumped with Lockpick_RCM). The installer finds it in%USERPROFILE%\.switchor in an emulator's key folder; key values are never copied or shown.
Both 1.0.0 and 1.0.4 run. Other updates are not supported yet.
Install
- Download
Tomodachi-Life-PC-Setup.exefrom the newest release and run it. Windows may say it protected your PC (the setup is not signed): click More info, then Run anyway. - Choose where it goes (
C:\Games\TomodachiLifeby default; about 15 GB). The launcher opens. - It finds your game files and keys by itself (Downloads, Desktop, Documents and emulator folders). Choose anything it
missed, then press INSTALL. A dump you already made (a folder with
exefs\andromfs\inside) works too: OR A DUMP FOLDER; no keys are needed then. - Wait. The first install takes about 40 minutes on a recent PC (an hour or more on older ones): it translates the game's code and compiles it (about 25 minutes), then compiles every shader for your graphics card (about 13 minutes). You can stop it, or close the launcher, and go on later: finished steps are not repeated.
- Press PLAY. Next time, start it with the Tomodachi Life shortcut on your desktop.
In the folder: Tomodachi Life.exe starts the game straight away, Tomodachi Life Launcher.exe opens the launcher
(play, settings, save data, install).
The same files as a zip, for those who prefer it: Tomodachi-Life-PC.zip (unpack it into a folder of its own and run
Tomodachi Life Launcher.exe). A zip named
tomodachi-runtime-... is not the game: it is a part the installer downloads by itself.
The installer downloads only what it needs, each file checked against a fixed SHA-256: Python 3.13 (python.org), LLVM/clang 9 (the official build, repackaged as a zip), the prebuilt runtime of this release (our own code only), libopus and FFmpeg.
The shaders are ready when the installer finishes, so the game starts in seconds. After a graphics driver update, or when you change the widescreen or resolution-scale setting, the game prepares them once more at its start: the loading screen then shows "preparing shaders (once)" with a count, the time spent and the time left. The first time you reach a new place or event it can still stutter for a moment while its pictures are prepared; they are kept, so it is smooth from then on.
The launcher
- PLAY starts the game.
- GAME shows the game version (1.0.0 or 1.0.4) and lets you choose another game folder.
- SETTINGS: window or full screen, resolution (540p to 4K and above), widescreen (Off, 16:9, by default; Fit the
screen for ultrawide monitors up to 21:9: the 3D view widens, menus keep their 16:9 shape in the middle), frame rate
(60 fps by default), vsync, volume, language, Local Play online (saved in
build\config\graphics.ini). - SAVE DATA: back up and restore your save, or import a save dumped from your Switch (the folder with
Map.sav,Mii.sav,Player.savand theUgcfolder of your drawings). - CONTROLS: the controller it sees and the keyboard keys (
build\config\controllers.ini).
In the game, PC Settings opens with F1, the controller's HOME / Guide button, or by holding - and + together for a second (Steam Deck): screen, window size, resolution, widescreen, frame rate, vsync, renderer, volume, language and Quit to desktop, on a page in the game's own style and with its own fonts. Played like the game's menus (d-pad or arrow keys, A / Enter, B / Esc); the mouse works too. Also there:
- Save now saves at once and the game goes on. (The game's own Save, in the X menu, takes you back to the title.)
- Fast-forward: hold Tab, or both stick buttons of a controller; the speed (2x, 3x, 4x) is on that page.
- Faster menus and loading (off by default): loading screens and menus run at twice the speed.
Your save lives in build\userdata (or the install location you chose). Playing 1.0.4 upgrades a 1.0.0 save; 1.0.0 cannot
read it afterwards. Back it up first (SAVE DATA) if you may go back.
Controls
The game is played as on a docked Switch.
| Switch | Controller | Keyboard |
|---|---|---|
| A (confirm) | A; PlayStation: cross (the game then shows the PlayStation symbols) | Enter or Space |
| B (back) | B; PlayStation: circle | Esc, Backspace or B |
| X (menu) / Y (residents) | X / Y; PlayStation: square / triangle | X or M / Y or R |
| L / R, ZL / ZR | shoulders, triggers | Q / E, Z / C |
| + / - | Start / Back | = / - (or the number pad's + / -) |
| Left stick (the hand) | left stick | W A S D or the arrow keys |
| Right stick (camera) | right stick | J / I / L / K |
| D-pad | D-pad | number pad 4 / 8 / 6 / 2 |
Keys move the hand like a stick: a tap nudges it (half speed for the first 0.3 s, for small targets), a held key crosses the screen, and diagonals are no faster than straight moves.
Mouse (off by default; PC Settings, Mouse controls): the hand follows the mouse. Left click = A, right click = B. On
the island, drag with the left button to move around (the ground stays under the cursor), click a place to bring it to the
middle (the game names what is there), click the hand or that name to go in, hold the button on a Mii to grab them (then
point where to carry them and click to put them down), turn the view by dragging with the middle
button, and zoom with the wheel. In menus and dialogs (the X menu, Settings, questions) pointing at a button selects it,
a click presses it (a click beside the buttons does nothing) and the wheel moves the selection. Anywhere, a click on a
button prompt shown on screen ("+ Buy", "L More info", the island's menu and residents icons, the B back arrow) presses
that button. On the Palette House canvas the pen is where the mouse is and draws while the left button is held.
On the keyboard for names
and words, pointing selects a key, a left click types it and a right click deletes.
Keys and buttons can be changed in the game: PC Settings, Controls (pick the controller with left / right, choose a button,
press the new one; it holds for every controller of that kind), or in build\config\controllers.ini, where a button can have
up to three keys (A = ENTER, SPACE). A keyboard section still holding the old default keys (Z / X / C / V) is moved to the
keys above by itself; one you changed is kept.
Mods
Put each mod in its own folder in build\mods (made at the first start). Mods made for emulators or a modded Switch
(LayeredFS) work as they are: the game uses the first romfs folder inside each mod, for example
build\mods\MyMod\romfs\... or build\mods\MyMod\atmosphere\contents\010051F0207B2000\romfs\.... When two mods change the
same file, the one whose folder name comes first wins. To turn a mod off, move its folder out. exefs code patches cannot
work here (the game's code is translated ahead of time), but a mod can bring a plugin that replaces any of the game's
functions: see docs/MODDING.md.
Local Play (Mii exchange)
The game shares Miis through Local Play. Here Local Play runs over the network: in the launcher's SETTINGS, LOCAL PLAY ONLINE = Same network for PCs at home, or Host (your game shows a room code in its title and copies it) and Join (paste your friend's code) over the internet. It is off by default.
Known issues
- Very large islands (30+ residents) run slowly on some PCs; we are working on it (issues #7, #18).
- On some PCs the soft shadows under Miis and glowing things (face paint, street lamps) flicker in a three-frame cycle (issues #29, #34). It does not happen on our test PC yet: an F12 sample (below) from a PC where it does would help most.
- Face paints made before 1.0.2 did not save their canvas: the face looks right, but the editor opens with an empty or older canvas, and pressing Done there replaces the face with it (Quit keeps the face). Paints made from 1.0.2 on save it (issue #36).
- The face paint upscaler does not run: paints save and show correctly without it, and on a console they may look a little smoother.
- Now and then a Mii's line shows without its voice (seen once in Mii News); the session log now records every line and
voice, so please send
build\logs\play_*.logwith the time it happened. - Once, a freeze in the controller input was seen and not reproduced since. If the game stops responding, close it and
send
build\logs\play_*.logof that session. - Local Play over the internet worked on a simulated link (lag and lost packets) but not yet between two real home routers; some routers will need UPnP on. Sending a Mii works; exchanging creations is not tested yet.
- The launcher shows a plain background (the island picture of the dev builds is game art and is not shipped).
When something goes wrong, the logs are in build\logs (MORE > OPEN LOGS FOLDER): the install's, and play_*.log for each
game session. If the launcher says the game closed with an error, the line under it says why. 0x00000004 is a crash: please
send that session's log and tomodachi_play_crash.txt from the same folder. 0x00000001: it could not start, or something ended it from outside.
Flicker: press F12 while it happens. The game saves the next 8 pictures in build\work\flicker and describes
the frames after them in the session log (the game pauses for that, 20 seconds at most); send both.
Building by hand
python scripts/setup.py --dump <folder with exefs\ and romfs\> builds everything from a dump folder, with LLVM/clang 9
and either the prebuilt runtime (--runtime <zip>) or the MSVC Build Tools; python scripts/setup.py --help lists the
steps and options. tools/extract/dump_folder.py <base> [<update>] <folder> makes that folder from your packages.
How the port works and what was done: docs/DEVELOPMENT.md.
Credits and licence
Built on the runtime and tools of ssbu-recomp. GPL-3.0 (see LICENSE).
Third-party code: SDL 3 (zlib), Dear ImGui (MIT), stb (MIT / public domain), libopus (BSD), FFmpeg (LGPL, downloaded by the
installer), the open-source fonts in runtime/fonts_open (see the README there). The launcher's Mii import
(launcher/mii_ltd.h) is a port of the .ltd import of ShareMii by Star-F0rce
(GPL-3.0).
Tomodachi Life is a trademark of Nintendo. This project contains no Nintendo code or assets.
Comentarios (0)
Inicia sesión para dejar un comentario.
Sé el primero en comentar sobre este juego.